The microworld class presented many of the students with their first microscope. This microscope becomes a window to an new world, the micro-world. In the micro-world, the student discovers microscopic animals, plants, and objects that they never knew existed. The microscope is a scientific instrument that a child can master in the comfort and safety of their own home. Michio Kaku mentioned that there was an “age 10 moment”, a moment in which a young child’s life where they encounter an event that locks them into an interest for a lifetime. Much of my philosophy in teaching the Super Saturday classes is to recreate this moment for students. While not all students become microscopeists, the microscope will provide the awe and wonder of scientific discovery and pique their curiosity for more.

Antoine van Leeuwenhoek
A good place to start a microworld class is with the “father of microbiology”, Antoine van Leeuwenhoek, who lived 300 years ago in the golden age of Dutch science and technology. Antonie made and used microscopes to study the quality of the threads in his draper business. But one day, he turned his microscope away from the threads toward the environment around him. He saw small animals in drops of water and cells in plants. He drew and published drawings of them, and the science of microbiology started. His microscope had the power of a toy microscope of today. This class will retrace some of the paths he took into the microworld.
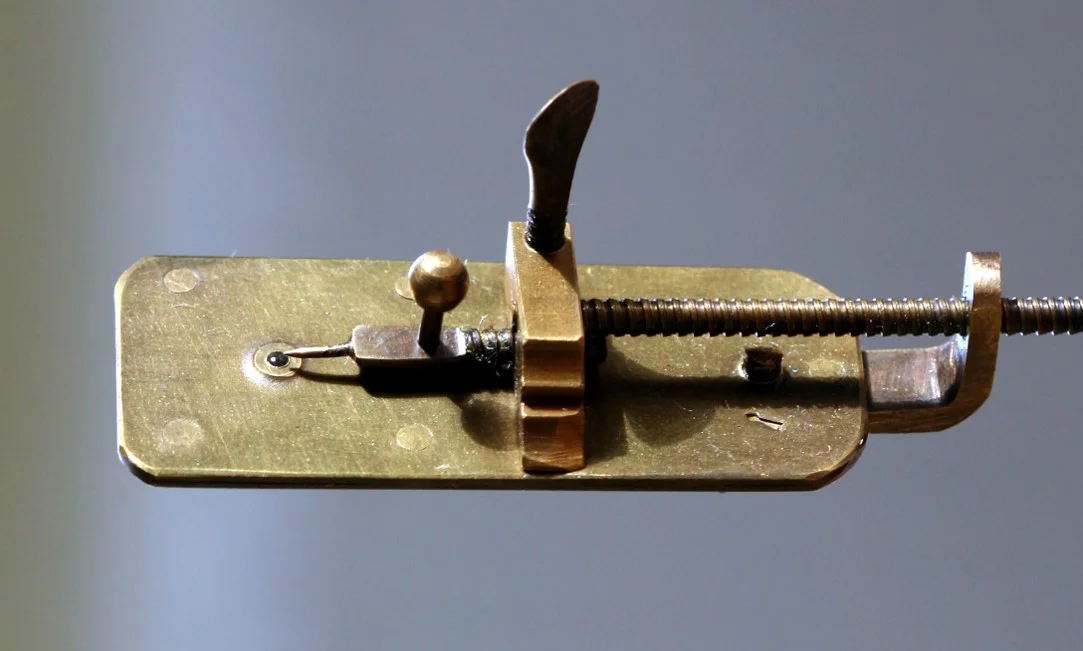
Leeuwenhoek’s microscope
This is a picture of Leeuwenhoek’s microscope. The lens was a simply glass bead embedded in a tiny hole on a metal plate. The sample is put on the tip of the pointed rod. Today, a student can make a glass bead using simple general chemistry glassware techniques. The chemist pulling horizontally on each end of a glass stirring rod held in a burner flame draws a fine strand of glass. After breaking in half, one strand is put back into the burner flame vertically, and a glass bead forms while melting. A replica of this antique microscope can be made using this glass bead. Simple technology, yet Leeuwenhoek managed to document some extraordinary findings with this microscope.

Leeuwenhoek's Flea
This drawing helped make Leeuwenhoek the “Father of Microbology.” With only a 200x microscope, he was able to make exquisite drawings of animals found in the microworld and publish his findings with text in the scientific journals. Like most progress in science, Leeuwenhoek was jut one of the many pioneers in microscopy. However, it was his detailed records and publications that gave him recognition of today. The students in this course accomplished this level of discovery and documentation at the age 8 using USB digital microscopes and word processing.
Powers of Ten
Just one more concept before starting the experiments, the concept of “powers of ten” magnification. The microscope experiments in this course will take us 10 to the power of two magnifications below what our naked eye can see. At 10 to the power of two (100X) magnification, we find an entire miniature world that we were unaware of it existence. As exciting as 100X magnification will be shown, today scientists are finding particles 10 to the power 14 orders of magnitude smaller. We live in boundless universe where there is no smallest or largest for all practical purposes. This inspirational video clip will provide a visual sense of the range of sizes that scientists are interested in seeing and that will put this course into context.

Toy Microscopes
Five toy microscopes were examined during classes over the years: 1) an Amscope 40 piece microscope kit that costs about $40, 2) Carolina Student Microscope for $8.51, 3) Carson MM-24 MicroBriteTM that costs $9.99, 4) QX-5 Digital Blue computer microscope for $113.55, and 5) a 5MP USB microscope mounted on a Vividia Digital Microscope Universal Stand costing $128. The first three required the students to squint through a narrow eyepiece like the original microscope. However, the last two were the digital blue Q5 and the Adafruit 5MP USB microscopes that allowed the students to view the object on a computer screen and to take photos and videos that can be used for documentation and uploading onto internet media. The 5MP USB with a special stand was used for this blog, but Microbrites also kept to quickly introduce students to microscopes.

The toy microscope of choice was the Adafruit 5MP USB microscope with a VividiaTM stand for the following reasons: 1) it was more fun to see the objects magnified on a computer screen, 2) the objects could be photographed and videographed, 3) 5MP allows for large screen pictures, and 4) the teachers laptop can be projected onto a wall screen to the whole class for easy teaching. The Adafruit microscope was later replace with a Celestron “true” 5MP microscope. Most USB microscopes come with a stand, however none of those stands have the features of the Vividia stand that moves in both the X and Y axis, and has back lighting. I think this microscope about a good as it gets for a toy microscope, although the price may be an economic barrier to learning for some.
The Toy Microscope of Choice

This is a picture of the digital microscope attached to a laptop computer. The software, Microcapture 2.5, comes on a CD with the shipping box. First, install the drivers and the software onto your computer from the CD. Then, insert the USB plug from the microscope into the computer port, and place the calibration ruler on the microscope stage. Read the manual that comes with the software. At the top of the software is the options menu, pull down this menu and set the preview image size to 2560 X 2048, the maximum pixels size. Set the microscope wheel to lowest magnification, 10X. Finally, focus and align the microscope on the centimeter ruler. Note each calibration line is 0.05 cm apart. This is the first test of the USB microscope system.
UWB Microscope and Laptop Computer.

The calculate the magnifying power of the microscope, place the calibration ruler under the microscope and compare its projection to a centimeter ruler on the screen. Note that 0.5 cm under the microscope measured 12 cm by the yellow ruler on the screen. To calculate the magnification, divide 12 cm by 0.5 cm and that equals 24X. That means the microscope magnified the 0.5 centimeter width 24 times to equal 12 centimeters. And, this at the lowest magnification setting of the microscope.
Calculating Magnifying Power

The laptop computer had a screen size of 1366 x 768 and that was not fully appreciated by the photo size of 2560 X 2048, so the computer shrunk the photo down to 1366 X 768 for display. However, the photo can be “digitally zoomed” to full size, but the screen can only show part of the big picture. In this picture, we are seeing part the photo enlarge to full size. In what we can now see, 0.1 cm can be measured as 7 cm by the external yellow ruler. Seven divided by 0.1 cm is equal to 70X. So in conclusion, the microscope on it lowest magnification using digital zoom, magnifies the image by a factor of 70.
Digital Zoom to 70X

Now turn the magnifying wheel to the full magnification, 220X, and photograph the calibration ruler under the microscope. View the photograph. The 0.05 cm spacing measures 15 centimeters on the yellow ruler. It has been magnified 300 X.
Full Magnification

Between the years 1959 to 2008, the Lincoln penny had the Lincoln memorial on the back side. However, few people know that Lincoln can be found on the backside too. The Lincoln on the backside of the penny is so small that is goes unnoticeable by many. Under slight magnification, it can be found. If the penny is tarnished, it can be made shiny by sponge scrubbing under vinegar. The acetic acid in vinegar dissolves the copper oxide leaving fresh and shiny copper.
Finding Lincoln on the Backside of the Penny

Digital zoom was used to expanded to full magnification to 600X. At 600X, 0.05 cm will measure about 30 cm on the ruler. These exercises has taught the user the range of magnification for the microscope 24-600 magnification. It was possible to get to 600 magnification, however, at 600X the pixels start to blur. This exercise allowed the user to learn how to focus the microscope at the highest and lowest magnification. The user is now ready to explore samples.
Full Magnification with Digital Zoom, 600X
Vinegar Eels, Turbatrix aceti

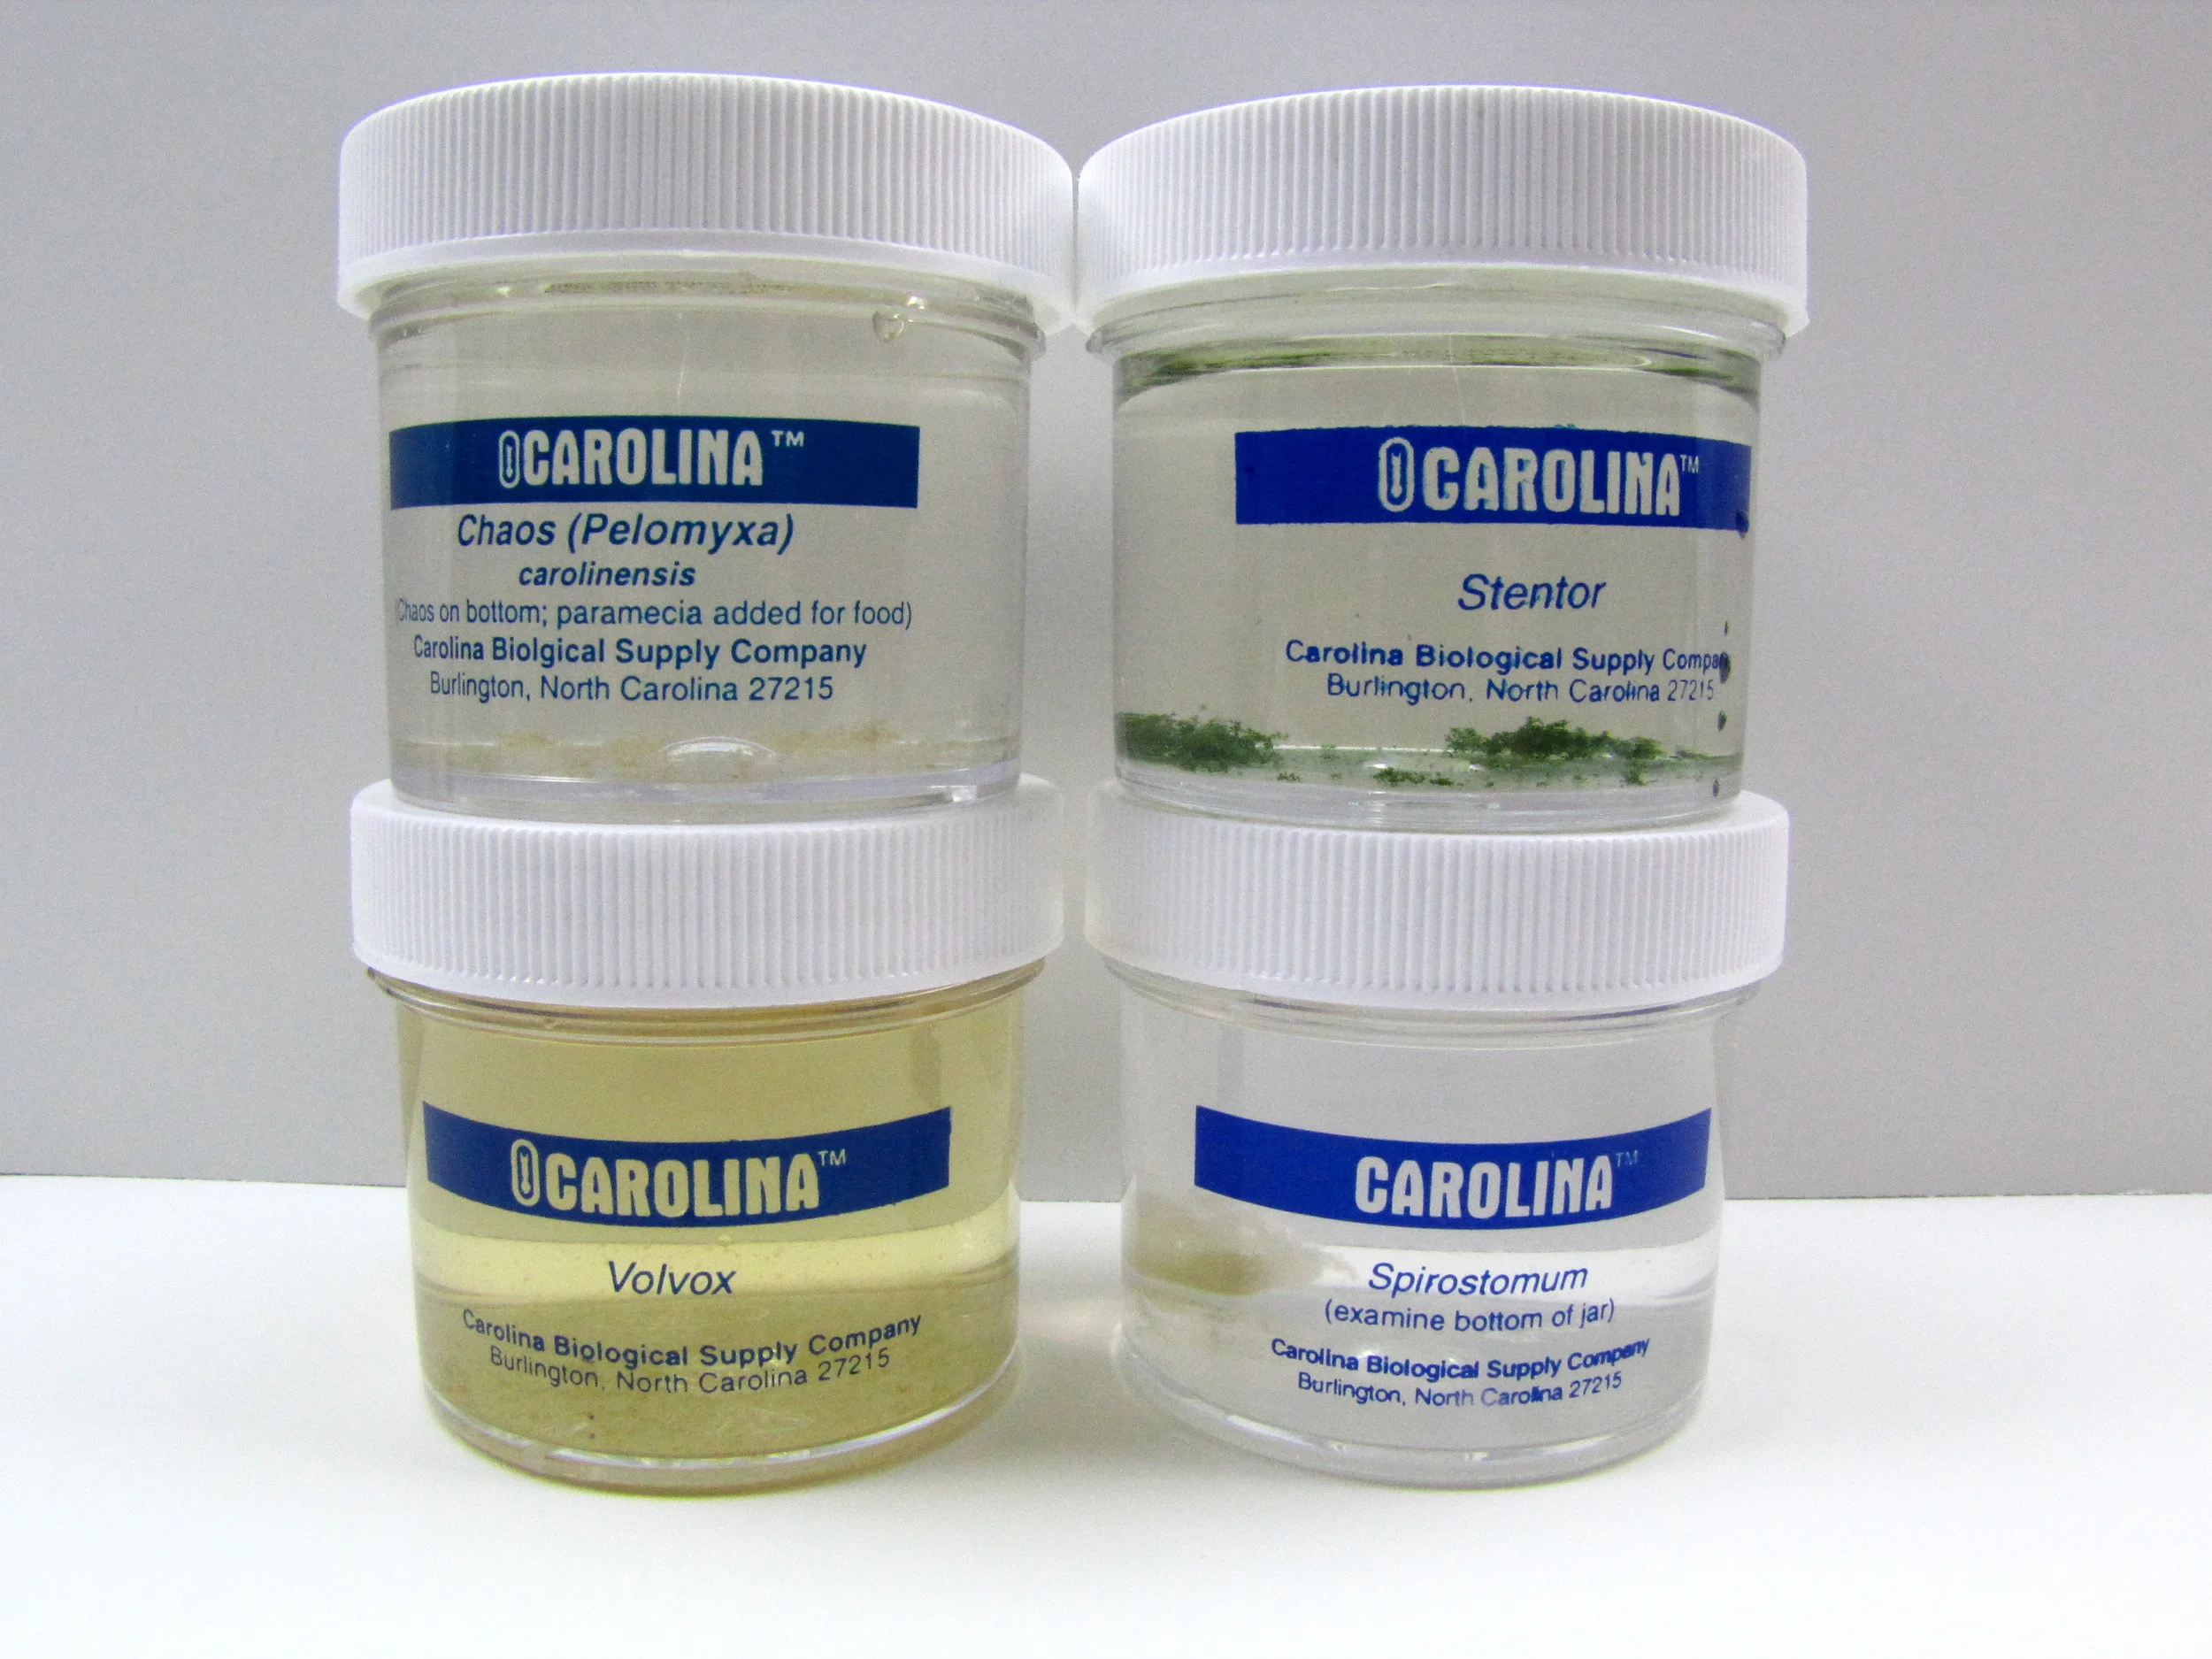
Chaos carolinensis

Week 4: Protista 1 - 2 mm.
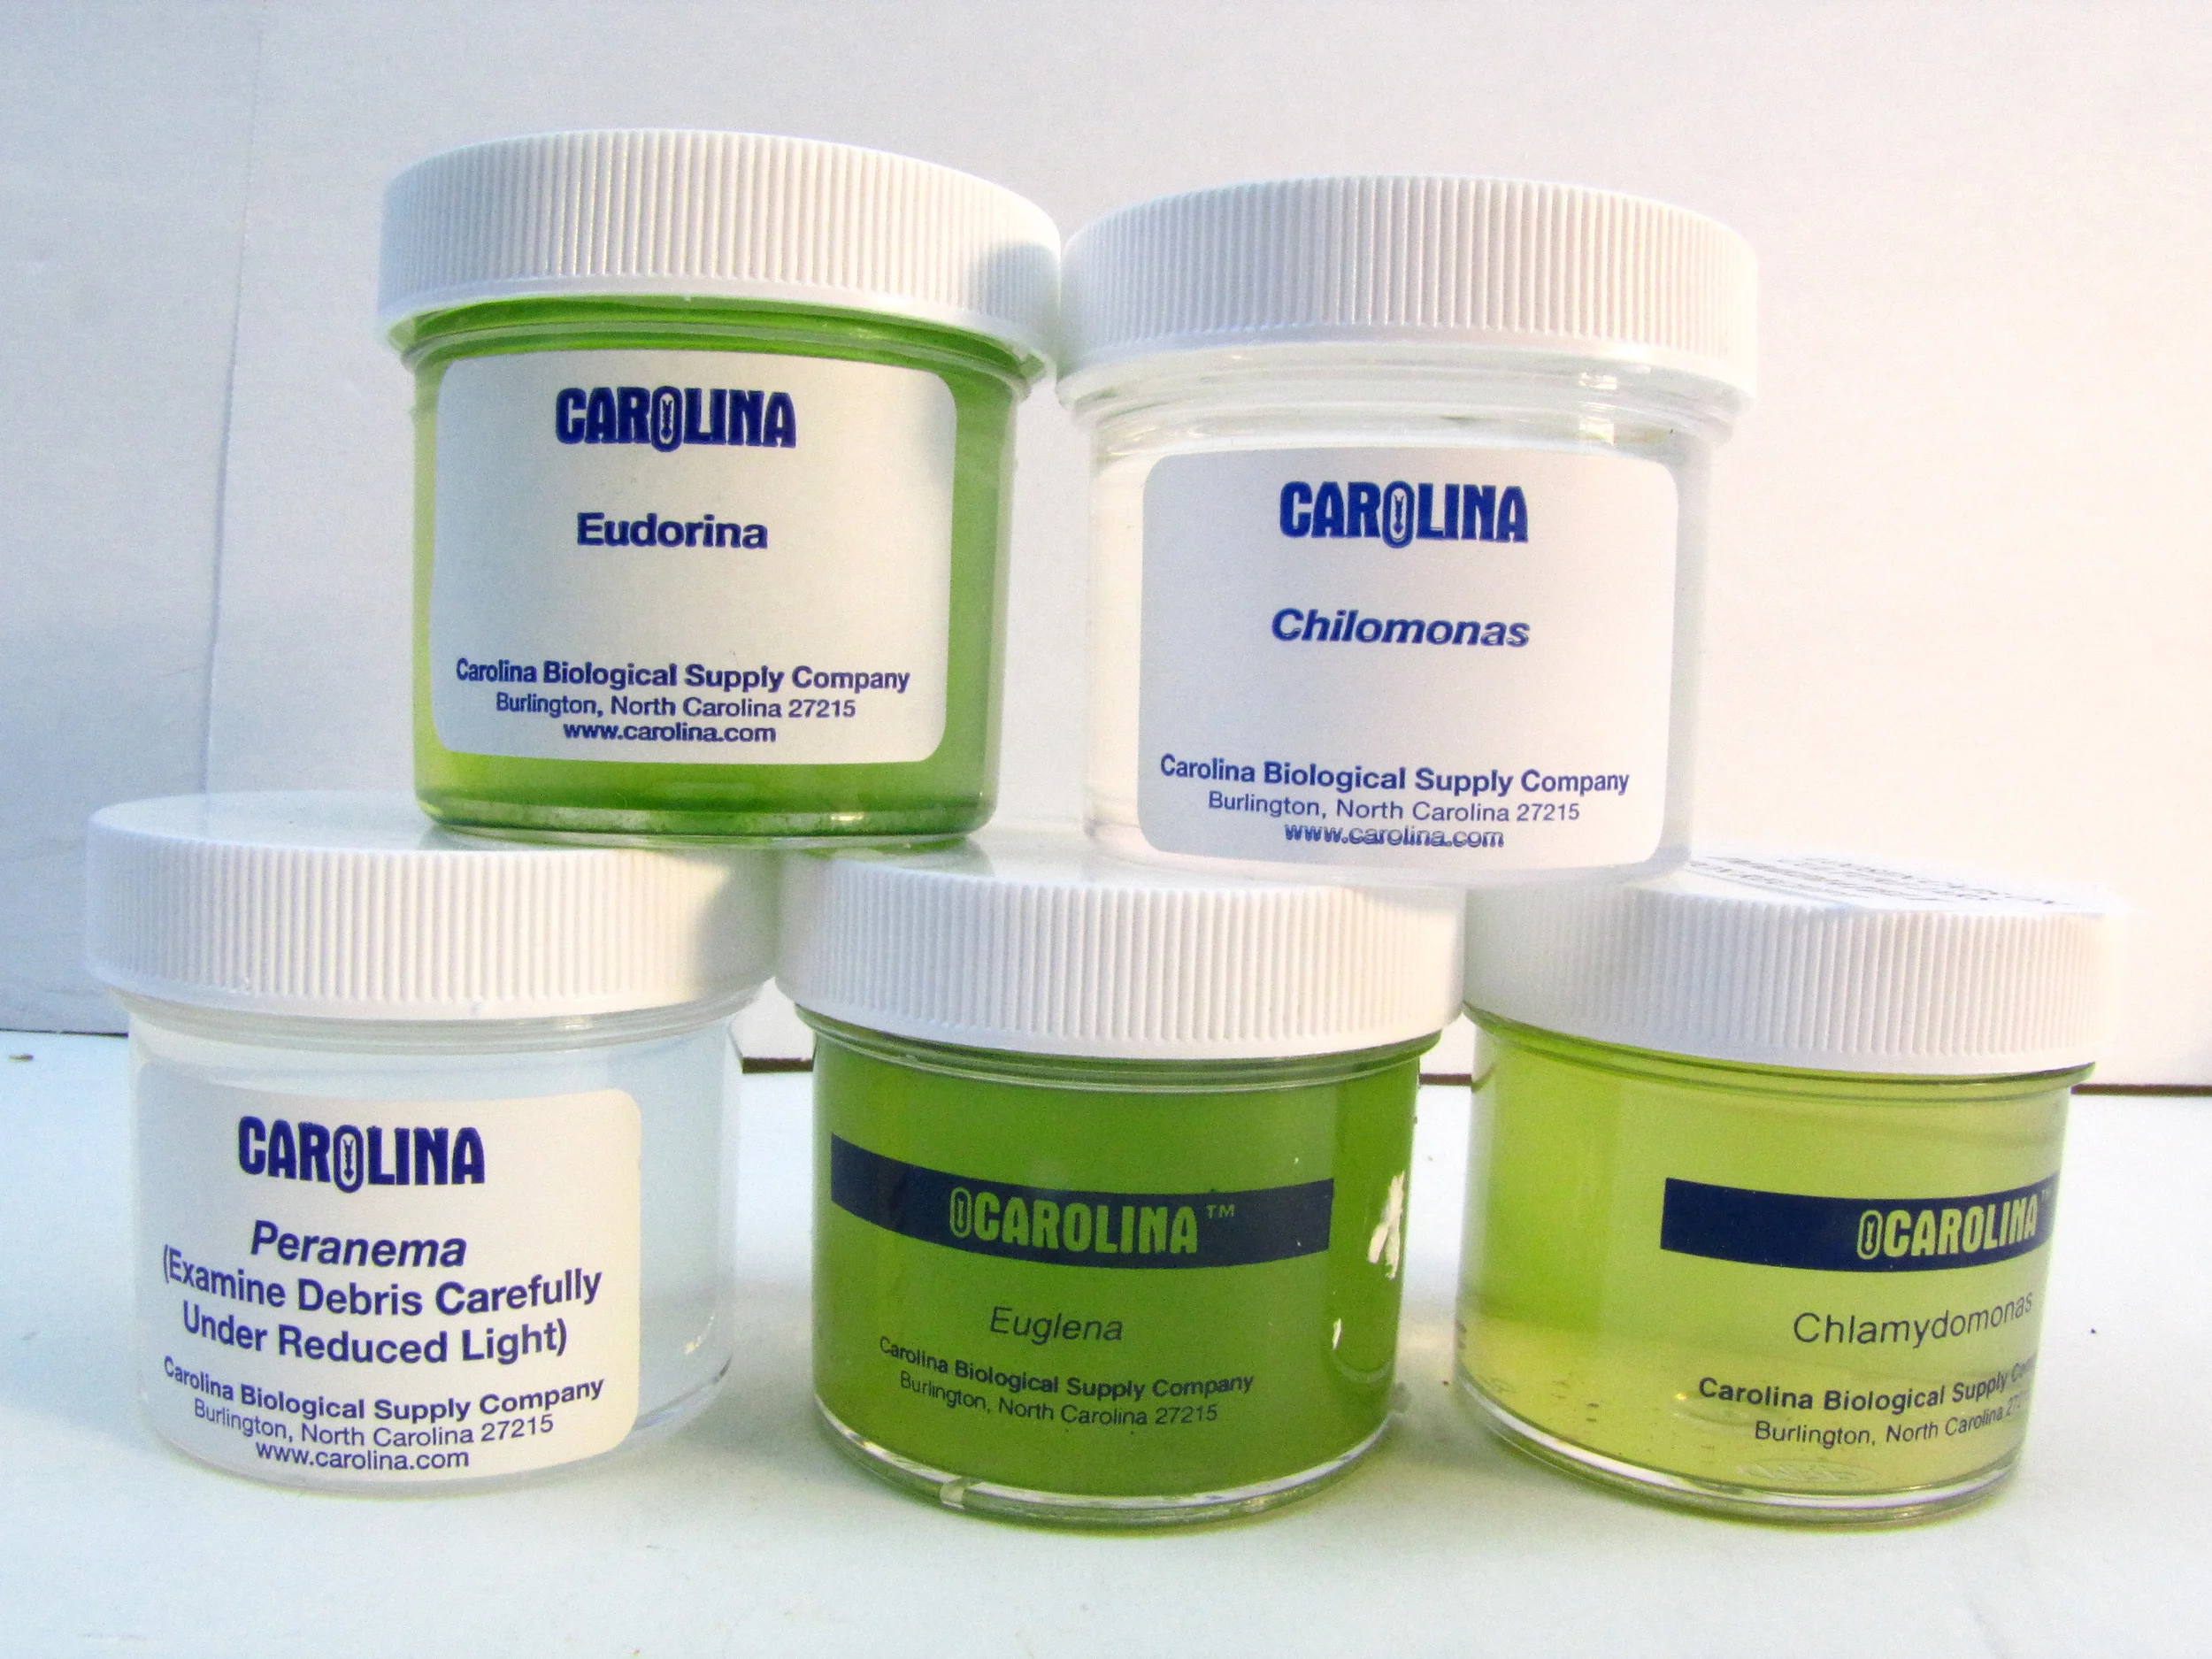
Euglena